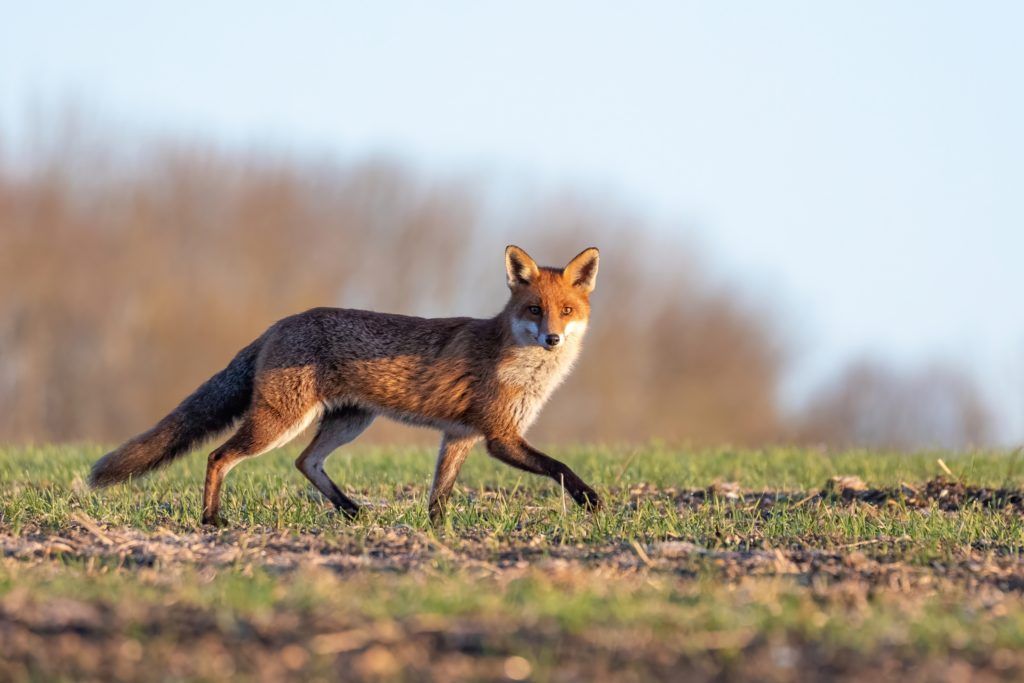
We are blessed with a huge array of mammals in the UK, from small rodents and bats to large badgers and deer and many of these can be found in urban environments. During the travel restrictions of the last year and a half I’ve explored my local area more and I have been surprised and delighted to find that wildlife is everywhere if you’re prepared to spend the time looking for it.
I am sure many of us have seen amazing images of British mammals and wanted to capture them ourselves, but it can be daunting and frustrating trying to get good wildlife pictures. Here I will share what I’ve learnt as a wildlife watcher and photographer, and hopefully you can use some of these tips to get great photos for yourself.
This first half of this blog we will look at the technical aspects of photography and how to use camera settings, composition and light to your advantage. The second will focus on the animal itself and what you need to think about when planning a shot.
Part one: the camera
Learn how to use different shutter speeds
There are many cameras on the market, from expensive DSLRs to those on the phone in your pocket. Play with the settings that are available and get to know how they work and how they affect your pictures.
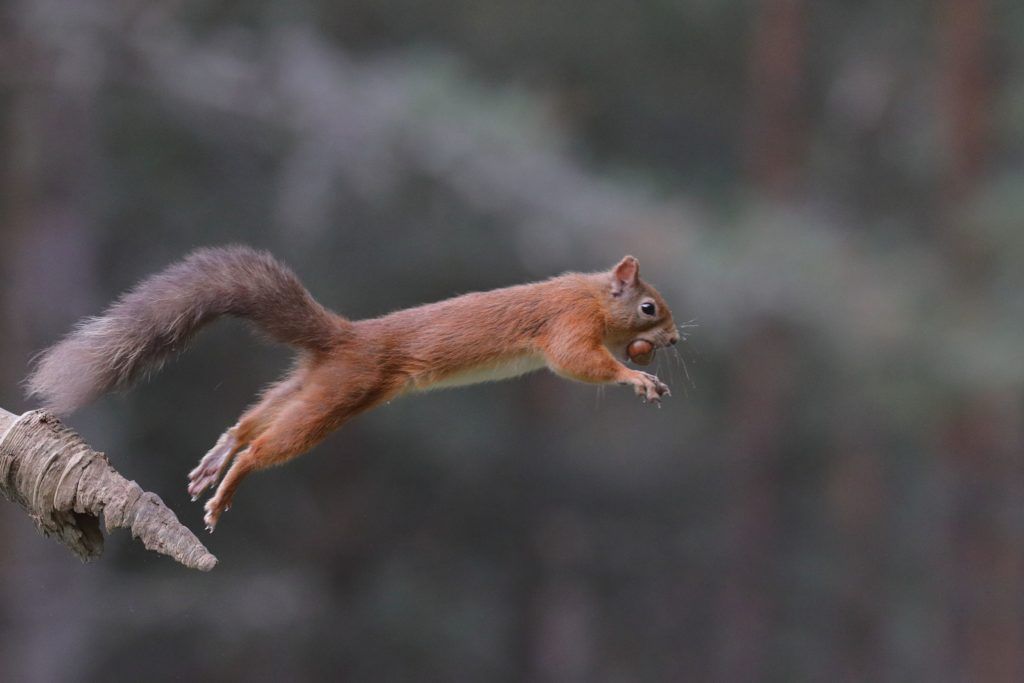
For a fast-moving animal, a faster shutter speed is essential to freeze the movement. If you are photographing boxing hares or rutting deer, you might need speeds of 1/2500 s or less, whereas if your subject is a stationary rabbit, you can use a much lower speed. In general, the lower the shutter speed, the better the quality of photo, so use the lowest speed possible whilst still obtaining a sharp image.
Learn how different apertures can change the viewers’ perspective
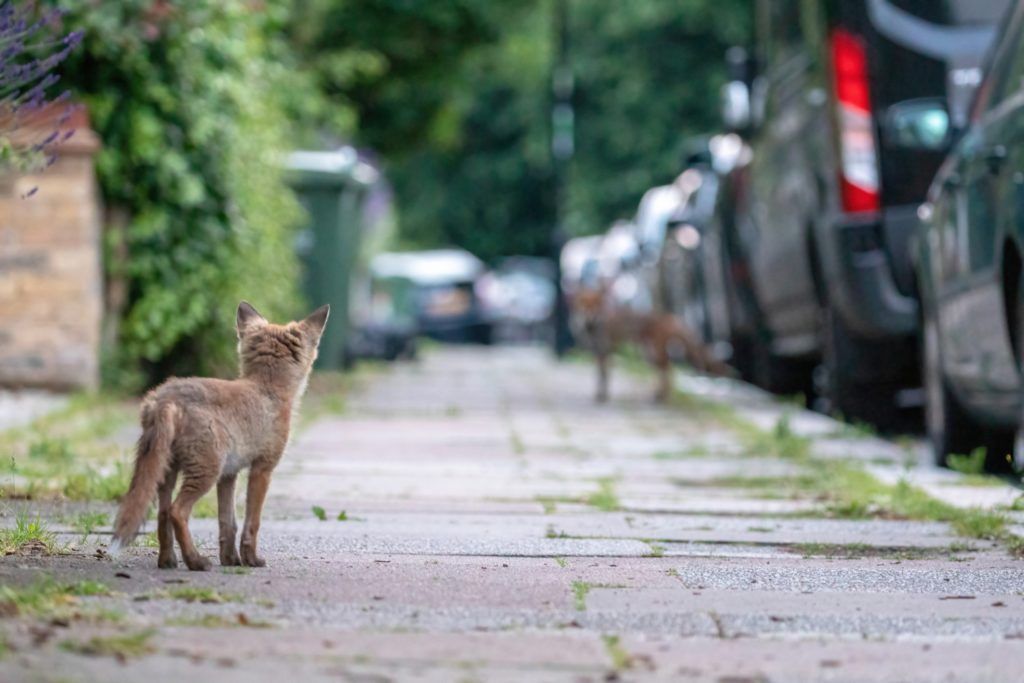
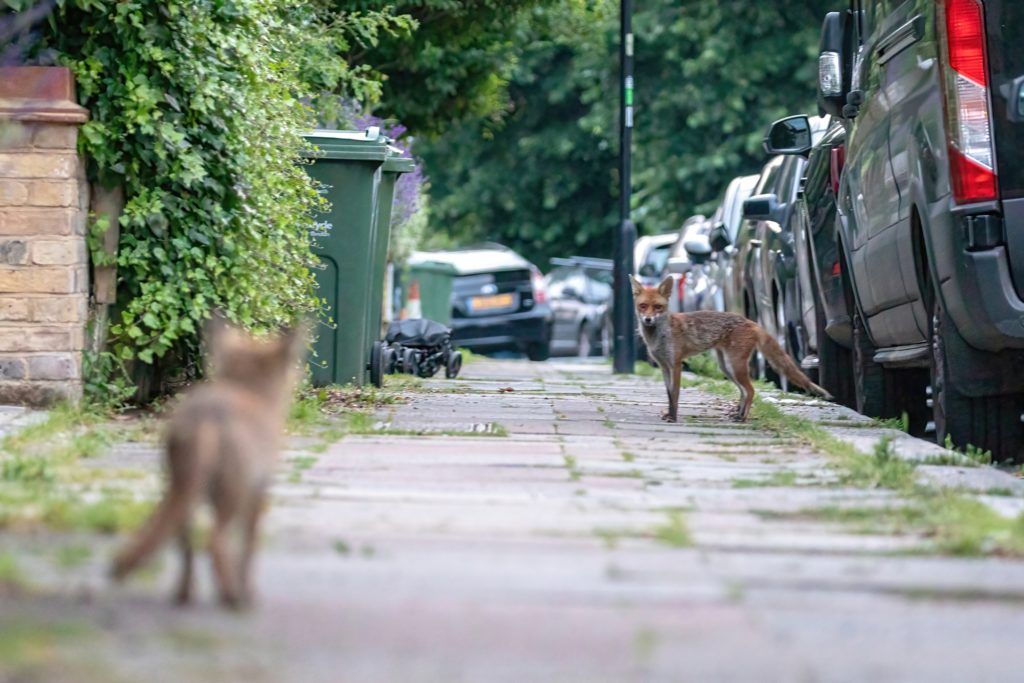
Aperture is also very important and can be quite confusing if you’re not used to changing it manually. It is measured in ‘f numbers’ and the lower the number, the wider the aperture. Wider apertures are especially useful for wildlife photography as they let more light in and you can use a higher shutter speed whilst retaining picture quality. They also have a smaller depth of field, so the subject can be in focus and the background is not. This makes the subject stand out more and is especially useful for portraits. Alternatively, if you want to take a picture of an animal in its environment, a smaller aperture enables the subject and more of its surroundings to be in focus.
It’s possible to be creative with wide apertures because different points of focus can give photos different perspectives. For example, the two photos here are of the same foxes in the same location but have different focus points. By using a wide aperture, you can decide which part of the scene is in focus and it’s possible to create pictures with contrasting viewpoints and stories.
Think about foreground and background
When we see a mammal we’re trying to photograph, it’s easy to let the moment overcome us and to forget about its surroundings. The heart beats faster and we just click away with no thought for the picture as a whole. Try to take a moment to step back and think about the other elements of the shot. A good picture can be great if the foreground and background are artistically included, rather than just there as an afterthought. The rule of thirds can be helpful for this, although it’s good to experiment and find out what you like.
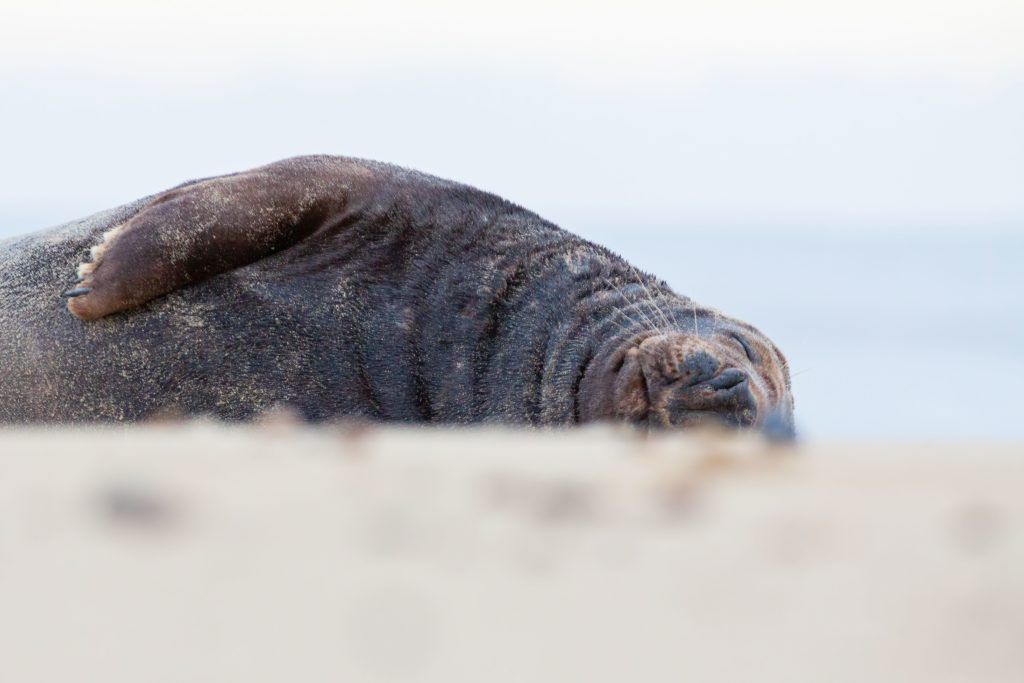
In general, the more uniform the surrounding area, the more a subject stands out and simpler foregrounds and backgrounds are often better. Of course, this isn’t a hard and fast rule and you can be very creative with the composition to achieve the effect you want.
Light is one of the most important factors for a good photograph
Light is one of the most important factors in photography and poor light can ruin an otherwise great photo. The intensity, colour and direction of light are all aspects we can make work to our advantage.
In general, the light is best at the start and end of the day when the sunlight takes on a redder hue, known as the “golden hour”. This can be much shorter than an hour though so you need to be on location well before then to find the perfect spot and make the most of it. Just before sunrise and after sunset can also produce great conditions when the light is more blue or pink, although, because it’s darker, this can often be trickier to photograph in and may require the use of a tripod or similar so that slower shutter speeds can be used.
Taking photos in the middle of the day is usually the wrong time for most mammals to be active, although when there is bright cloud cover it is like shooting in a massive light box. This can be particularly good for shooting subjects with thick fur such as hares or otters as there are no harsh shadows seen in their coats. Be careful of shooting in bright sunlight though as this can produce very harsh shadows and highlights. There are exceptions of course and the dappled shade of a forest can produce interesting and often quite abstract pictures, which can be beautiful.
The direction of the light is also important, so try experimenting with the light in front of or to the side of your subject, or you can try working with backlight, which is one of my favourite conditions. It is best to try and use backlight during the “golden hour” when the sun is low on the horizon. it works especially well with mammals as you can get halos of light around their fur. Capturing silhouettes of your subject in golden light can also produce stunning results.
Getting the correct exposure can be tricky with backlight, so be sure to check your pictures regularly and work in ‘manual mode’ as even the top end cameras won’t be able to work out the best settings automatically. Usually, you’ll have to decrease the exposure compensation by two or three stops to shoot backlit subjects, but again, experiment and find what works best for you.
Read part two here.
Written by Paul Saunders: veterinarian and wildlife photographer.
You can find Paul on his website and Instagram.
Paul has inflammatory arthritis and watching and photographing wildlife really helps him to cope with this. If you would like to know more about this aspect of his photography then you can find more information here.

