How to make a leaf pile or leafmould

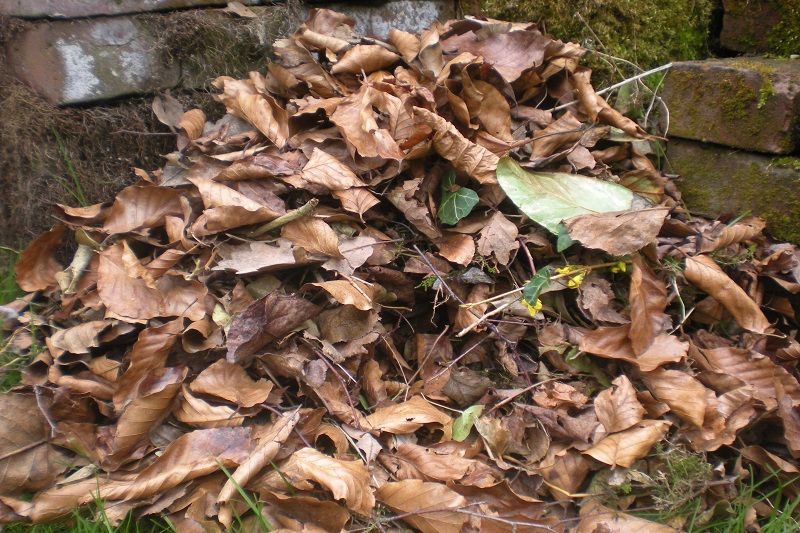
Leaf piles are amazing for wildlife, providing shelter and a great nesting spot for hibernating animals, such as hedgehogs, small mammals, frogs and countless insects. Birds will also peck through leaf piles looking for a tasty meal of worms and grubs. When leaf piles are left undisturbed beyond winter, they tend to be inhabited by detritivores, such as beetles and woodlice, who feed on the decaying matter.
If you want to get even more creative with your fallen leaves, turn them into leafmould. Leafmould is simply made from decaying leaves and mixes soil with fungi which helps slowly break down the leaves and aid absorption of important nutrients.
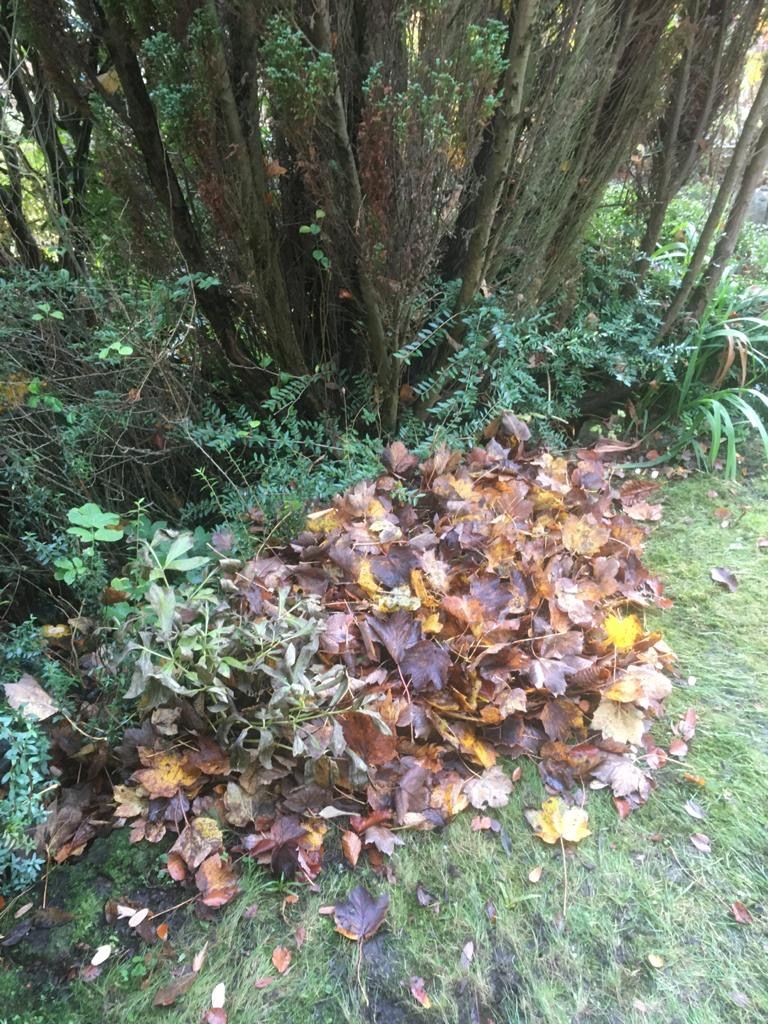
How to make a leaf pile for wildlife:
- Gather leaves from your lawn or local green space.
- If possible, leaves collected from public spaces should be from quieter areas and/or side roads where they’re less likely to be affected by atmospheric pollution.
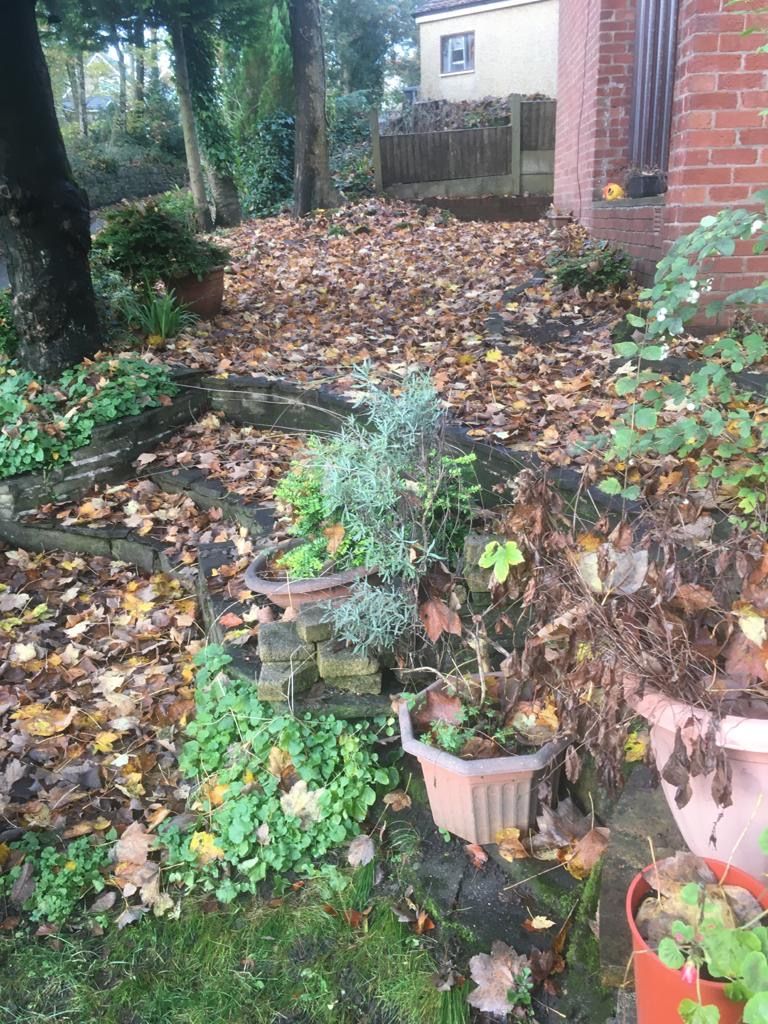
- Leave piles of leaves at least a foot deep in shaded corners and stuff lots of loose leaves into holes behind and underneath planters as these make great amphibian refugia and invertebrates love it.
- If the area is shaded these should have rotted down by spring and can be used as soil improver or mulch.
- Be careful when dragging them out or spreading them as there are likely to be things living in it. If you find any creatures looking up at you rather indignantly, cover them back over and leave it another week.
Remember if you have a wildlife pond, it’s essential to clear out fallen leaves to maintain good water quality throughout the autumn and winter months.
How to make leafmould:
- Once you’ve gathered your leaves into a pile, stuff as many leaves as you can into a bin liner or old compost bag.
- Pierce holes in to the bin liner using a knife or garden fork and tie the top loosely.
- Add lots of water if the leaves are dry, and moisten them periodically if they become dry overtime.
- Place the bag(s) in a sheltered and shaded part of your garden, and leave for up to two years.
- A mixture of leaves works better than all the same species.
- Oak, beech or hornbeam leaves are best to make good quality leafmould.
- Avoid holly leaves as the prickles persist even after they’ve rotted.
Please note leafmould can stimulate the growth of weeds and therefore should not be spread over areas of the garden where weeds would be a problem.
How to use leafmould:
- Top quality, well-decayed leafmould (more than two years old) can be used as compost to sow seeds, or laced with existing garden compost, sharp sand and good quality soil to use as potting compost.
- Leaf mould that is less than two years old can be used as part of mulch, soil improver (especially good for clay soils), top-dressing for lawns in autumn, or covering for bare soil in winter.
- When using leafmould as part of mulch:
- In spring, mulch added before the soil has warmed up will slow growth down – useful for spreading out strawberry production for example, or to keep perennials flowering for longer in summer.
- Adding a mulch after the soil has warmed will retain heat at night so speed production along.
- You can further speed growth by watering with warm water. Roll out the hose-pipe, lay it in the sun and use the warmed water before mulching.
Show us your creation!
Take a photo of your leaf pile or leaf mould and submit it below, or post on social media and inspire others to do the same!


